
Simple Steps That Help You Get Clean, Even Walls
Drywall installation tips for a smooth wall finish start with good prep, careful hanging, tight seams, and patient sanding. If you rush any step, bumps and lines will show through paint. With the right tools and a clear plan, you can get walls that look flat, clean, and ready for color.
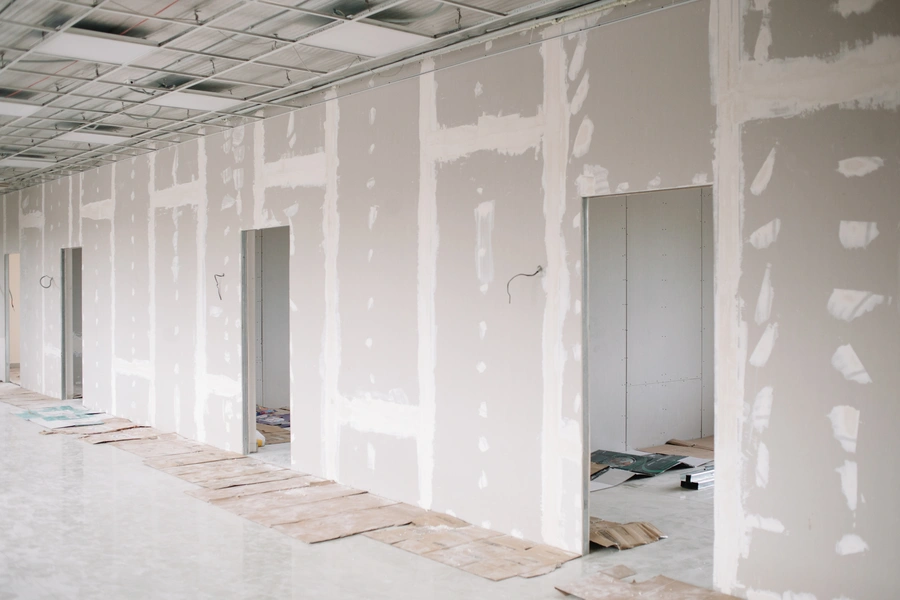
What You Need Before Starting Drywall Installation
Before you begin drywall installation, gather your tools and check your space. A smooth finish depends on a solid base.
- Drywall sheets in the right thickness
- Screws made for drywall installation
- Drill or screw gun
- Joint tape
- Joint compound
- 6-inch and 12-inch taping knives
- Sanding block or pole sander
- Level and utility knife
Also inspect the wall studs. They should be straight and spaced evenly. If a stud bows out, the drywall will not sit flat. Fix framing issues first. Taking time here saves hours later.
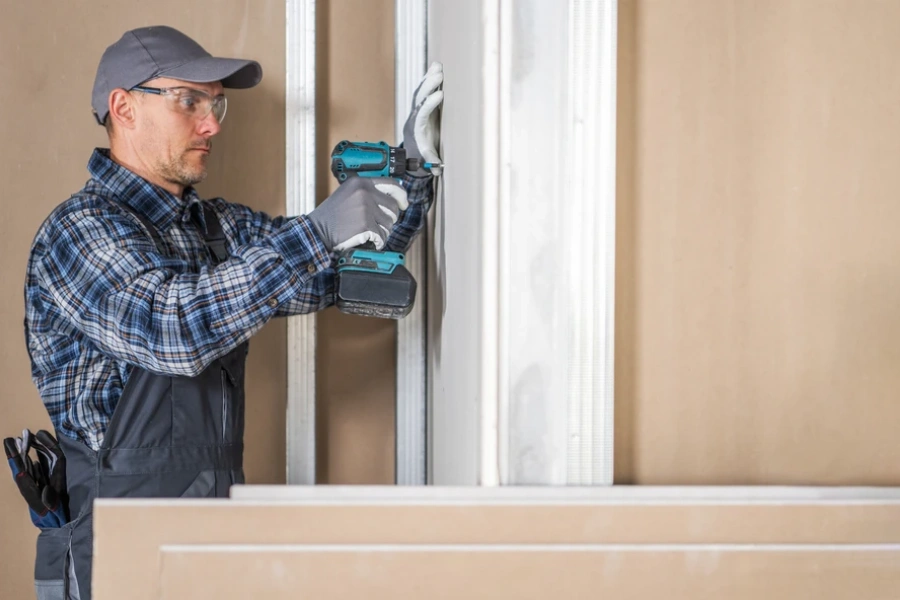
Step-by-Step Process for a Smooth Wall Finish
Follow these steps in order. Do not skip ahead. Each part builds on the last.
- Measure and cut carefully. Mark your cuts with a level. Score the paper with a utility knife, snap the board, and cut the back paper clean.
- Hang sheets tightly. Start at the top of the wall. Press each sheet snug against the studs and ceiling. Leave no wide gaps.
- Screw at the right depth. Drive screws so the head dimples the surface without breaking the paper.
- Tape the seams. Apply a thin layer of joint compound, press tape into it, and smooth it flat.
- Apply second and third coats. Use a wider knife each time. Feather the edges out so the seam blends into the wall.
- Sand lightly. Once dry, sand just enough to remove ridges. Over-sanding can damage the surface.
Good drywall installation is about layers. Thin coats dry better and look smoother than thick ones.
Common Mistakes to Avoid
Many rough finishes come from small mistakes. Watch for these problems:
- Using too much joint compound at once
- Not letting each coat dry fully
- Placing screws too close to the edge
- Skipping sanding between coats
- Poor lighting while working
Lighting plays a big role. Shine a work light across the wall. Side lighting shows bumps and lines you may not see straight on. Fix them before priming.
Extra Tips for a Cleaner Final Look
Small details make a big difference in drywall installation. Keep your tools clean. Dried compound on a knife can leave lines. Mix compound to a smooth, creamy texture. If it feels thick, add a small amount of water and stir well.
Prime the wall before painting. Primer seals the paper and compound so paint goes on evenly. Without primer, you may see dull spots where the compound absorbs more paint.
If your project includes other service category keyword tasks like patching large holes or repairing water damage, treat those areas first. Damaged framing or wet insulation can affect your results.
When to Call a Professional for Drywall Installation
Some jobs are harder than they seem. High ceilings, large rooms, or heavy ceiling panels often need more than one person. If seams keep cracking or you see waves across the wall, the framing could be off.
You may also want help if:
- You are finishing a basement
- You are matching an older textured wall
- You have complex corners and angles
- Time is limited and the room must be ready fast
A trained crew can handle these issues and deliver a smooth, paint-ready surface. Good drywall installation adds value to your home and makes every room feel complete.
Get Help With Your Next Wall Project
If you need expert drywall installation in Oakland, CA, we are ready to help. At Velasquez Drywall and Painting, we handle everything from hanging and taping to final sanding with care and attention. Call us at (510) 241-2301 to schedule your project, and we will work with you to create smooth, clean walls you will be proud of.